The setup wizard
A walkthrough of the first-run wizard: units, currency, theme, workspace, first project and stock.
Available onProBusinessTeam
Updated September 27, 2026Browse all help topics
The first time you open the dashboard, a short wizard sets up your preferences. Each step can be skipped, and you can change everything later in Settings.
Step by step
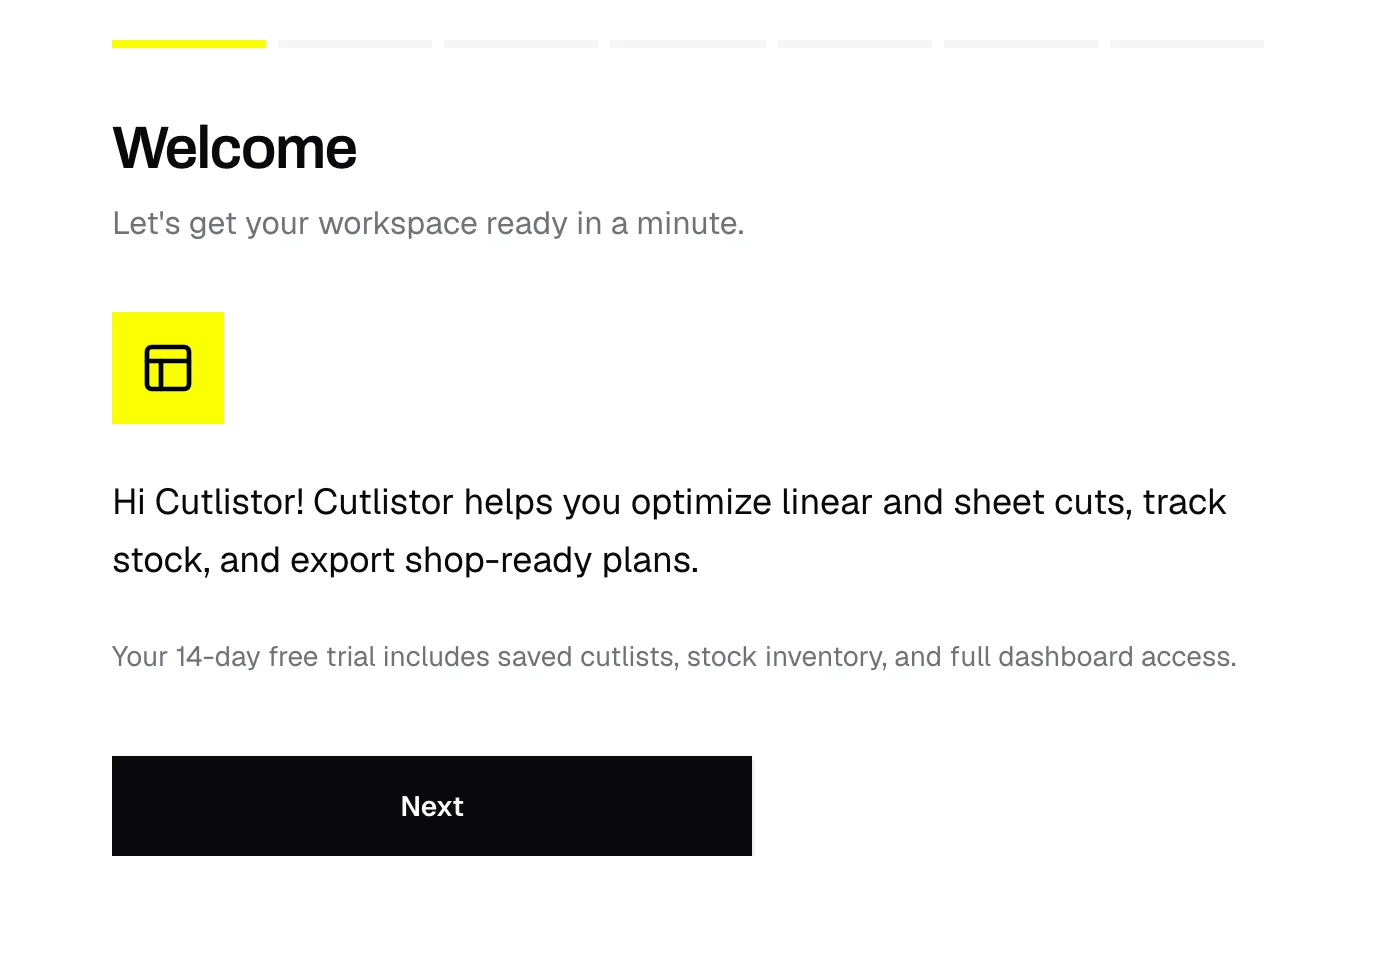
- Step 1: Welcome: a quick overview of what's included in your plan. Click Next.
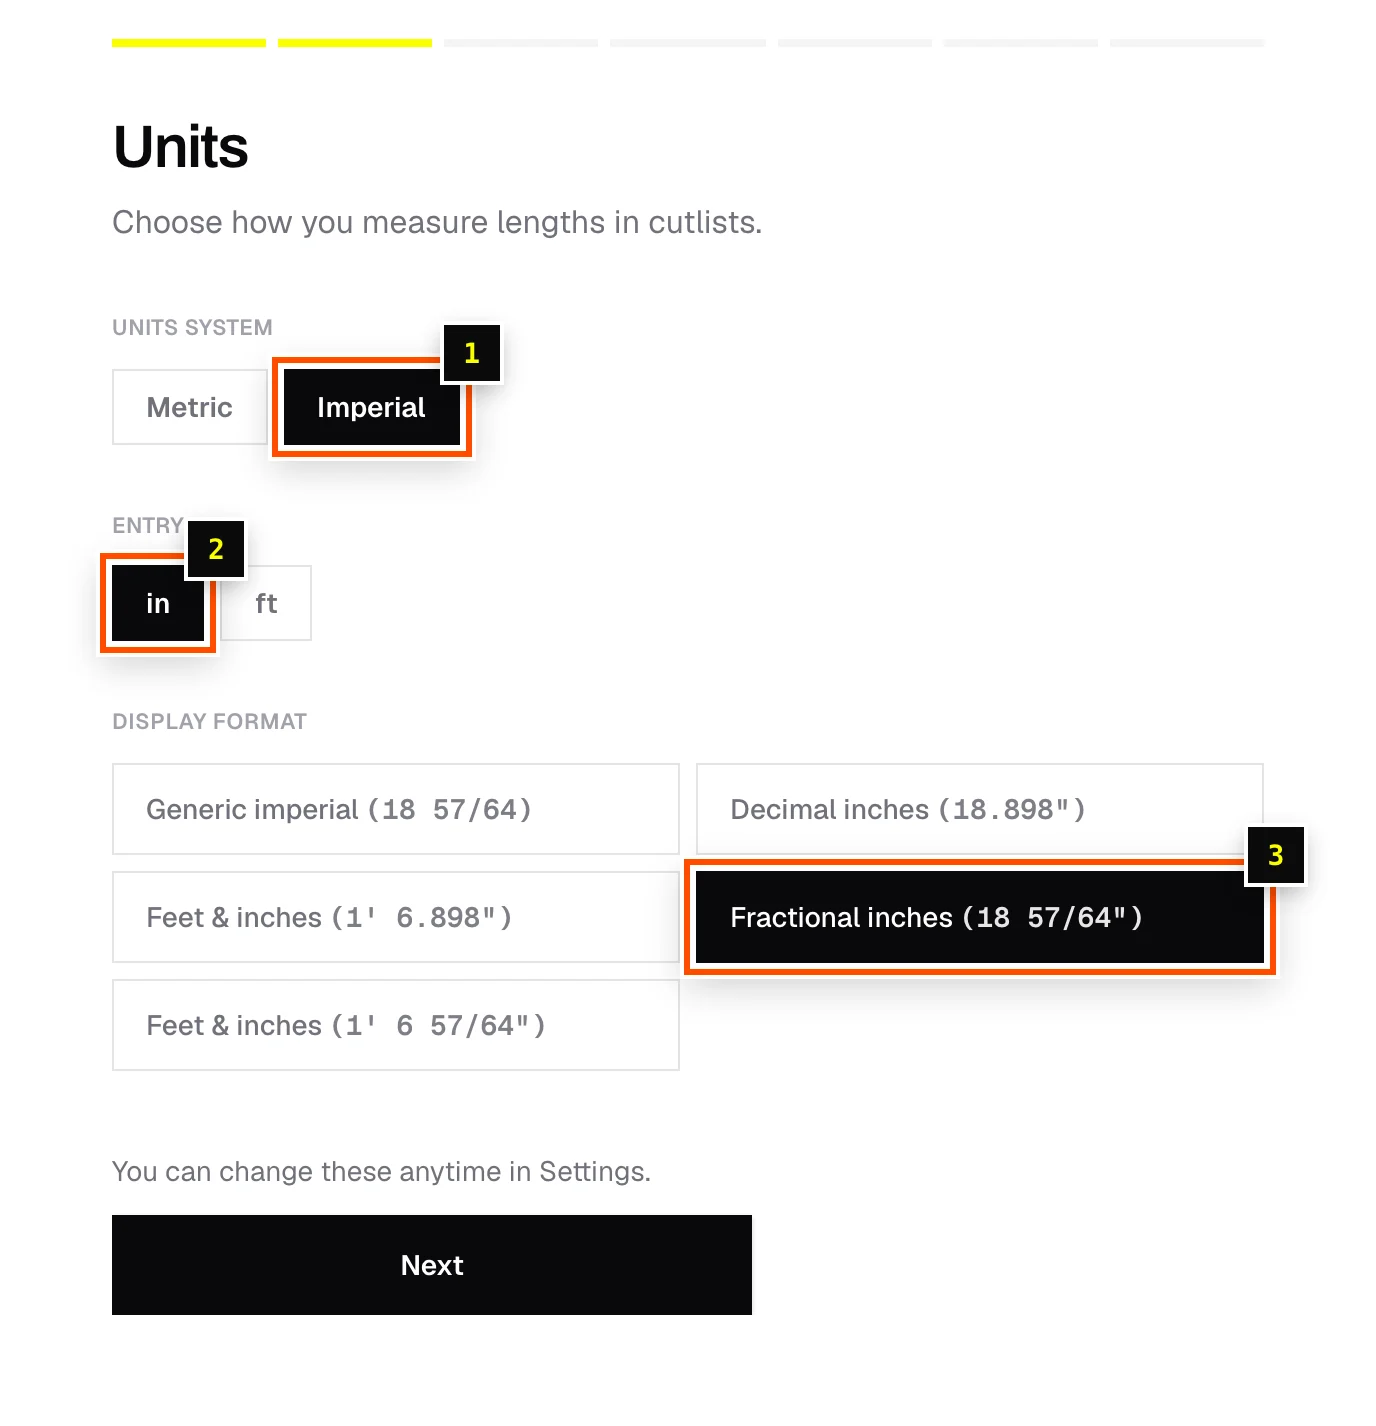
- Step 2: Units: choose Imperial, set Entry unit to in and Display format to Fractional inches if you work in inches and fractions like 23 3/4". See Units, fractions and measurement formats.
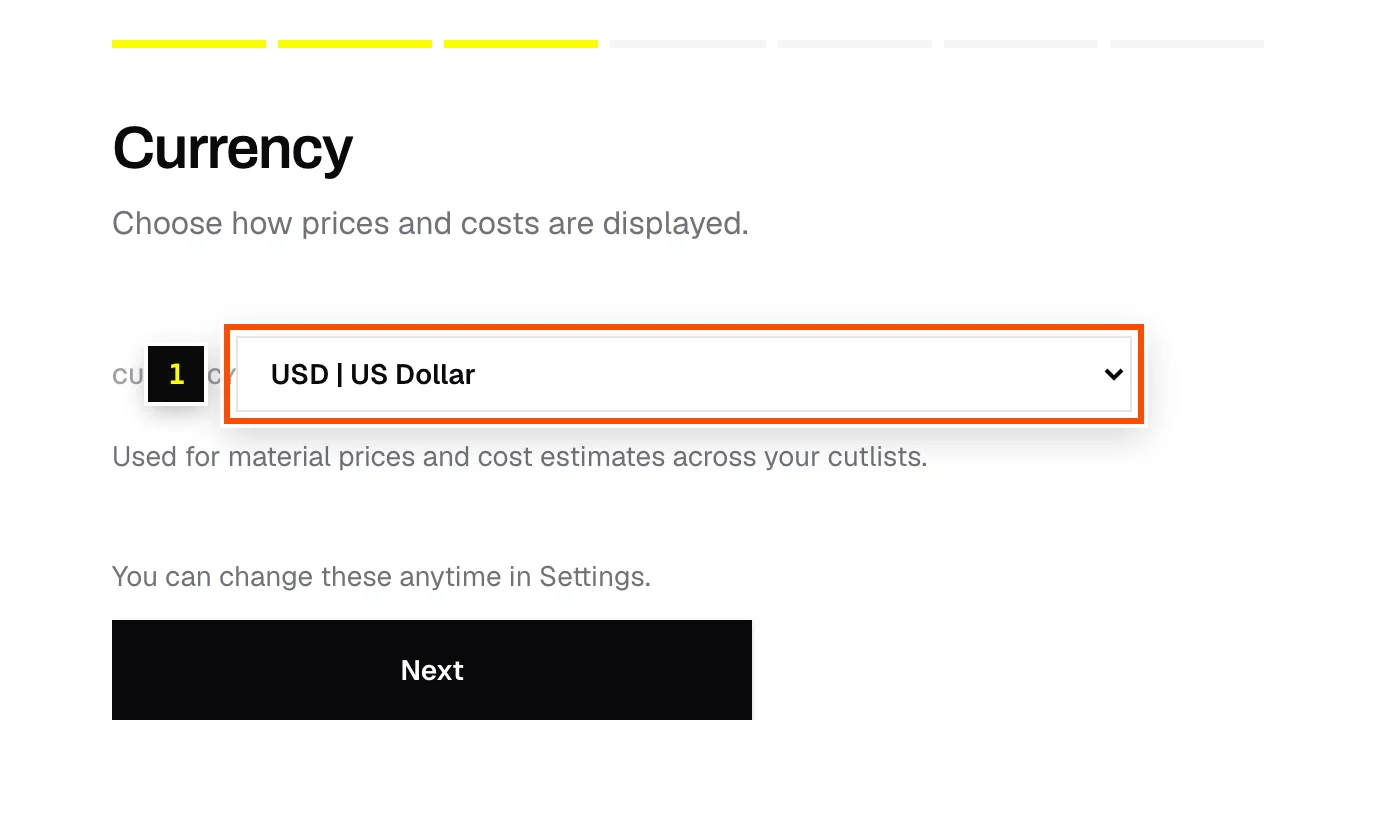
- Step 3: Currency: pick the currency for material prices and cost estimates, for example USD.
- Step 4: Appearance: light, dark, or match your device.
- Step 5: Workspace & team (Team plan only): create a shared workspace for your shop and invite teammates.
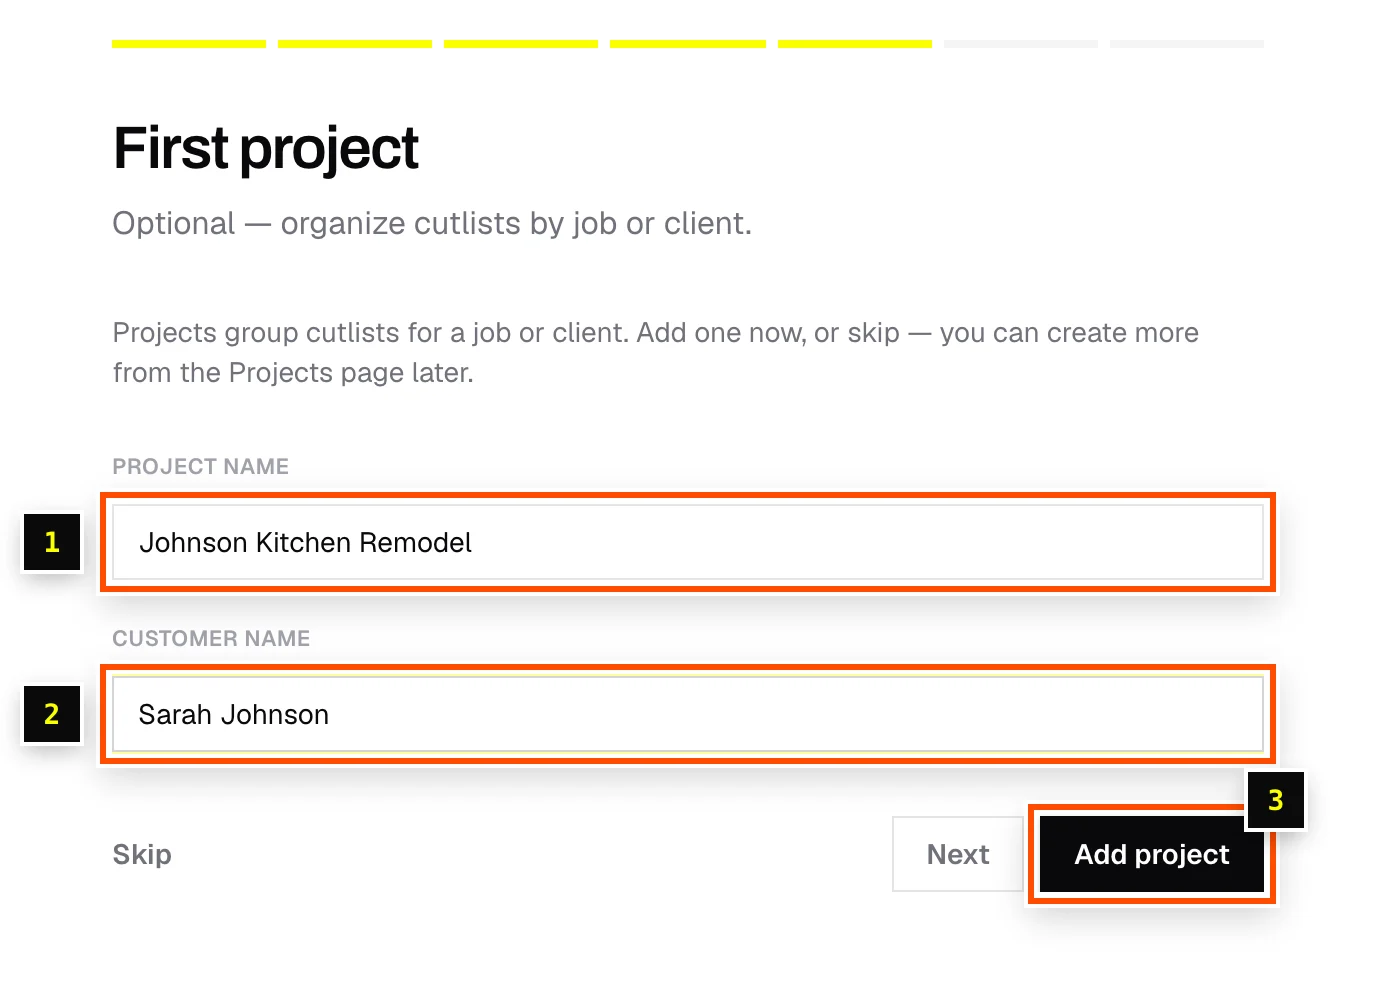
- Step 6: First project (optional): enter a Project name such as "Johnson kitchen" and a Customer name, then click Add project, or click Skip.
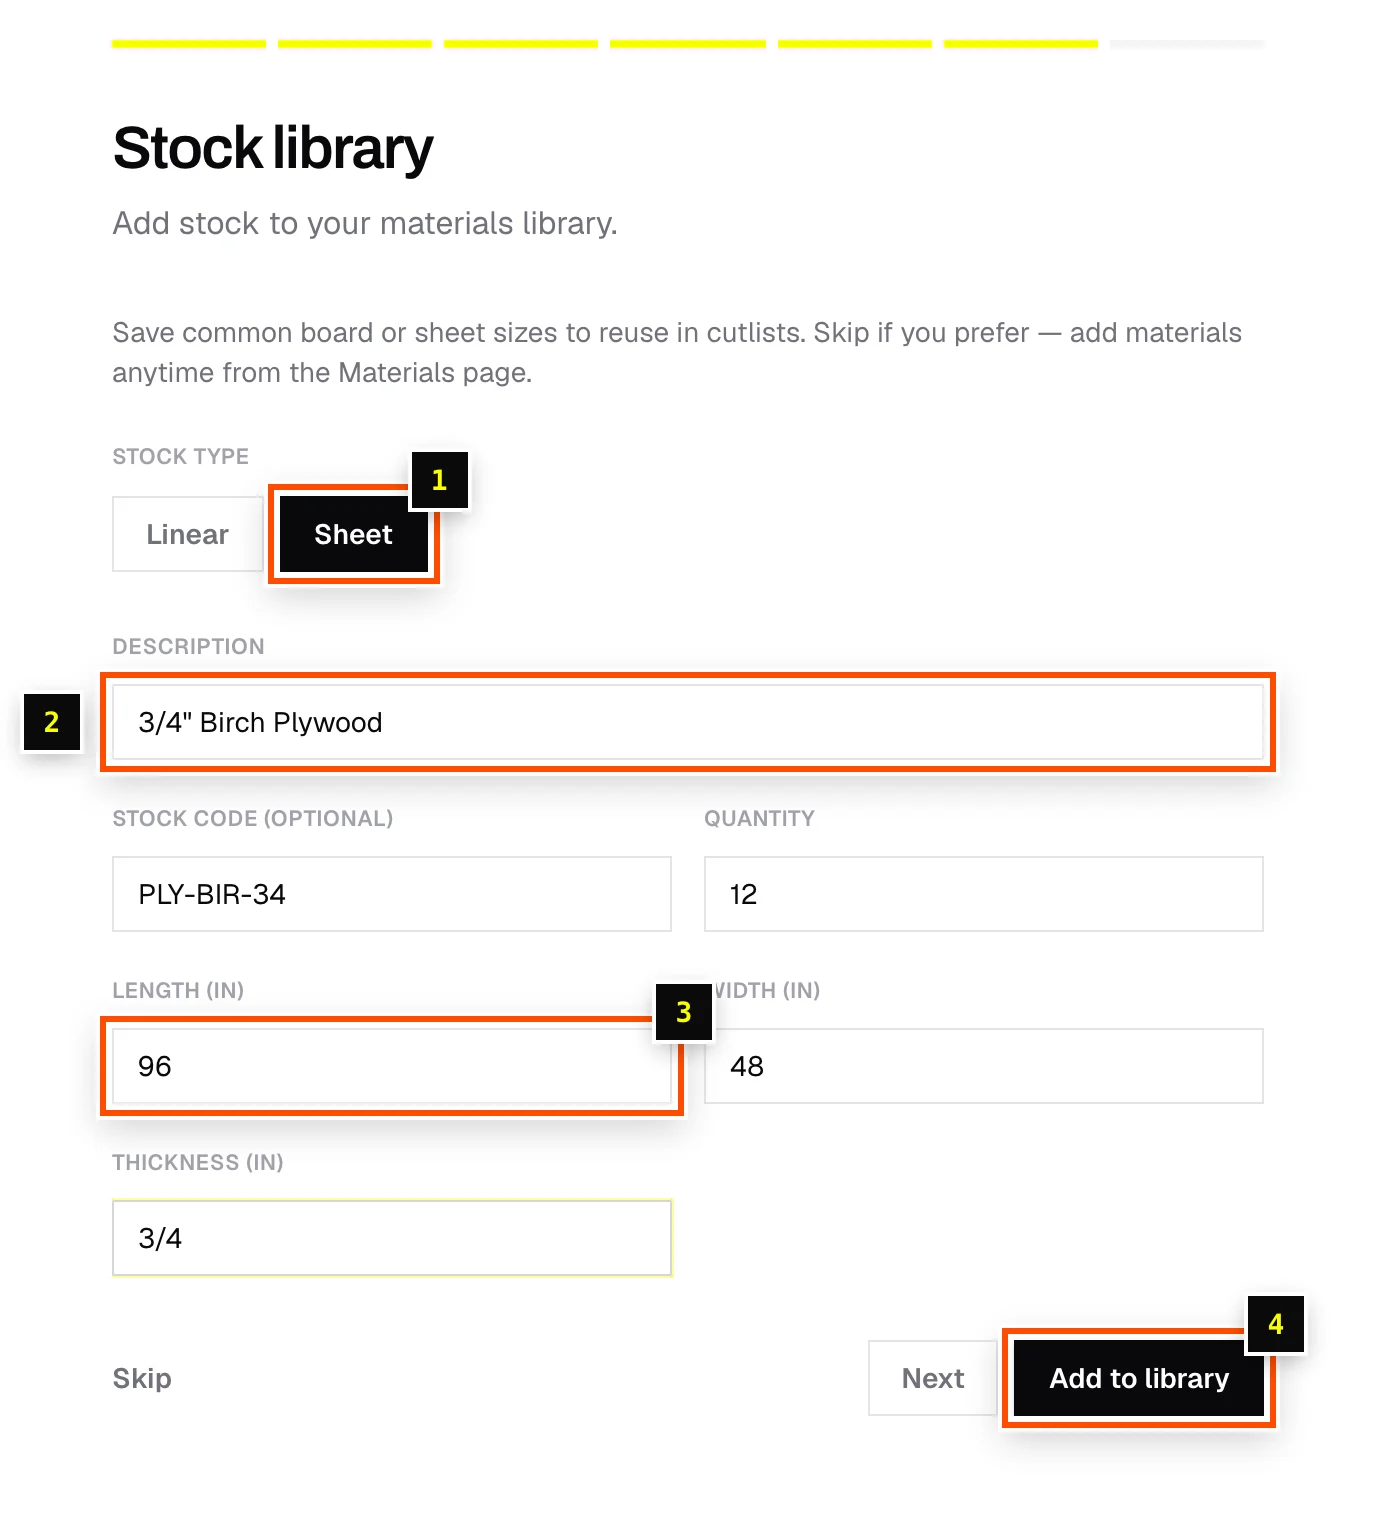
- Step 7: Stock library (optional): add a board or sheet you use often, such as 3/4" plywood at 96" × 48". Choose Linear or Sheet, fill in the sizes and Quantity, then click Add to library.
- Step 8: Skip the trial?: if you're on a free trial you can start paying now for 15% off your first bill, or click Keep my free trial.
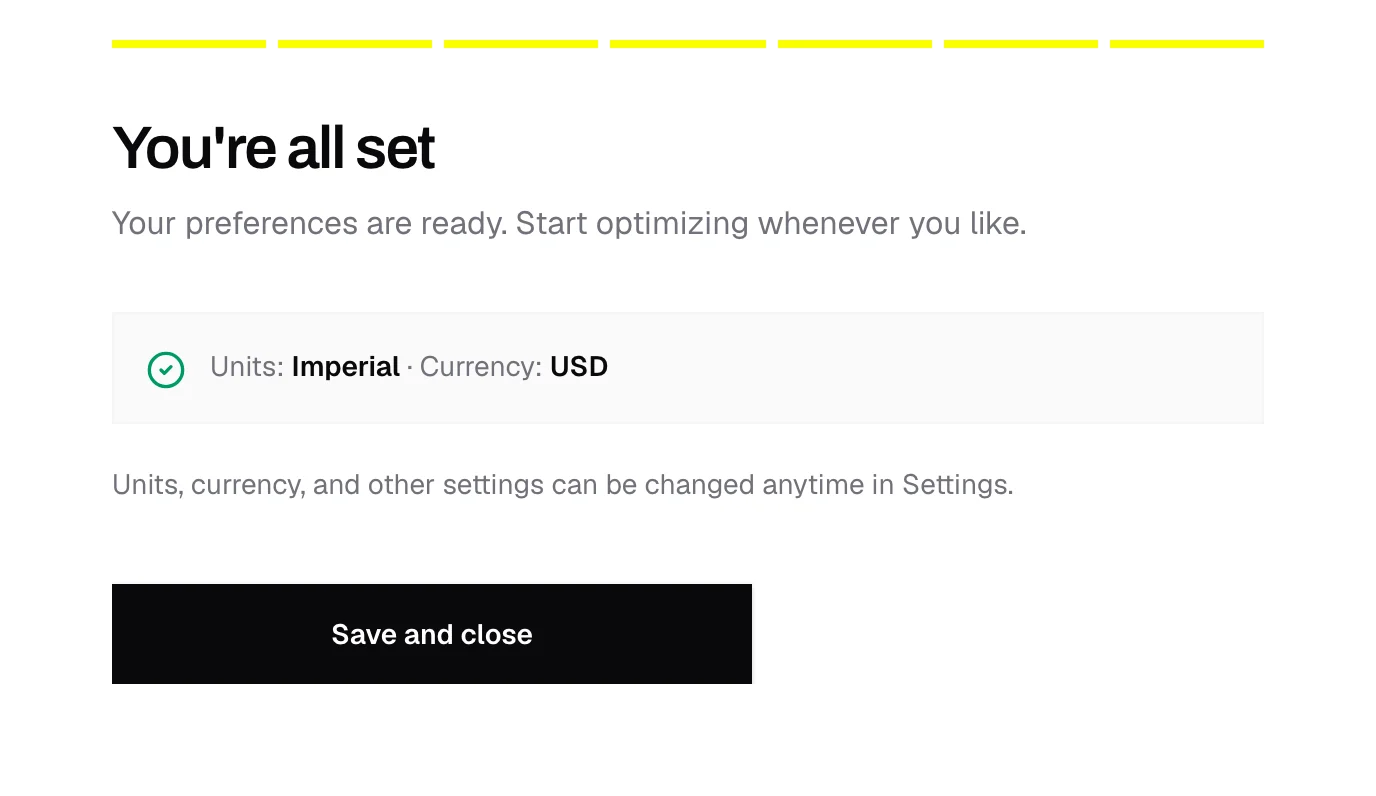
- Step 9: You're all set: click Save and close to go to the dashboard.
Changing your answers later
Units, currency and appearance live in Settings (account menu, top right → Settings). Projects are under Projects, and stock is under Stock.
Related articles
Didn't find what you need?
Email us and tell us which article you were reading.